December 17, 2012

Mossy Green Fungi Installation


 Installation at Zu Design with some professional images by Sam Oster.


December 5, 2012

Cabinet at Urban Cow Studios

Images of new work shown at Urban Cow last month. Just some quick snaps. Some professional shots of the new work is on its way and will post them up when they are done.
 In these new works I have used some different materials in the brooches at the bottom of the first image. Acrylic and stuff I found at a hobby shop. I could of gone mad buying stuff there but had to restrain myself.
The other work is inspired by the gills of the mushroom using silver and brass. These were technically difficult and hard to figure out how to make but a few hours, swear words, bandaids and sleep deprivation they were made. Ahhh all in the name of art....


November 22, 2012

Xmas at Zu Design

Flame Red Installation, goes up at Zu Design for their Xmas show 'Handpicked for Xmas'. Opening on Friday 23rd November.


October 20, 2012

New Date

Dates for Fungology exhibition at Urban Cow have been changed. The opening is now on the Wed 31st October.
From 6-8pm
11 Frome Street, Adelaide

omg no time to post, heading back to studio..........

October 9, 2012

Sneak Preview

Preview of latest works in progress for upcoming show at Urban Cow in November. Opening is on Wednesday 7th November. More details to follow shortly.


October 2, 2012

I can see the light!!

For the past 8 months or so I have had no natural light in my studio. All the windows are boarded up as it backs onto a train track. A few weeks ago I decided to take down one of the boards. Underneath are some louvre windows which with a bit of coaxing and oil finally opened. Yay!!! I am so excited to have some natural light in my bunker.
I cut out a window in the board so that I can close it back up at night. 


Think I may have to open some more.......

August 14, 2012

New Outlet

My jewellery is now being showcased at Nicholas Pike jewellery gallery in Burnside Village, Adelaide. They have displayed my work in one of the front windows which is great and I have given them a range of jewellery from a couple of my collections. Many of the pieces are one offs including bracelets, earrings, neckpieces and brooches.

August 1, 2012

Mossy Black Bracket Fungi


 Installing the 3 mdf sheets on the brick walls of Zu Design was an epic feat. We had to carry the sheets through Adelaide Arcade past lunch time goers and shoppers, which was quite interesting, and then up a couple of flights of stairs, even more interesting. Drilling, levelling, sanding and painting of the walls were a big job but we finally got it done by 4.30pm and were out of there. I came back the next day to put the installation up. All done. Yay!!!


July 24, 2012

Latest Installation Piece

Zu Design are having a show for SALA (South Australian Living Artists) called 'The Grass is Greener' opening on the 3rd August. Normally Zu showcases jewellery but I really wanted to make an installation piece instead and..... so I am.

Unfortunately the walls at Zu are brick so I am going to have to make a false wall to put up. My studio space has brick walls too so what a perfect place to start.

Here we are putting up 3 mdf sheets onto the brick wall in my studio space. Thanks to Huw for helping me.


Figuring out where the pieces will go using cardboard cutouts.


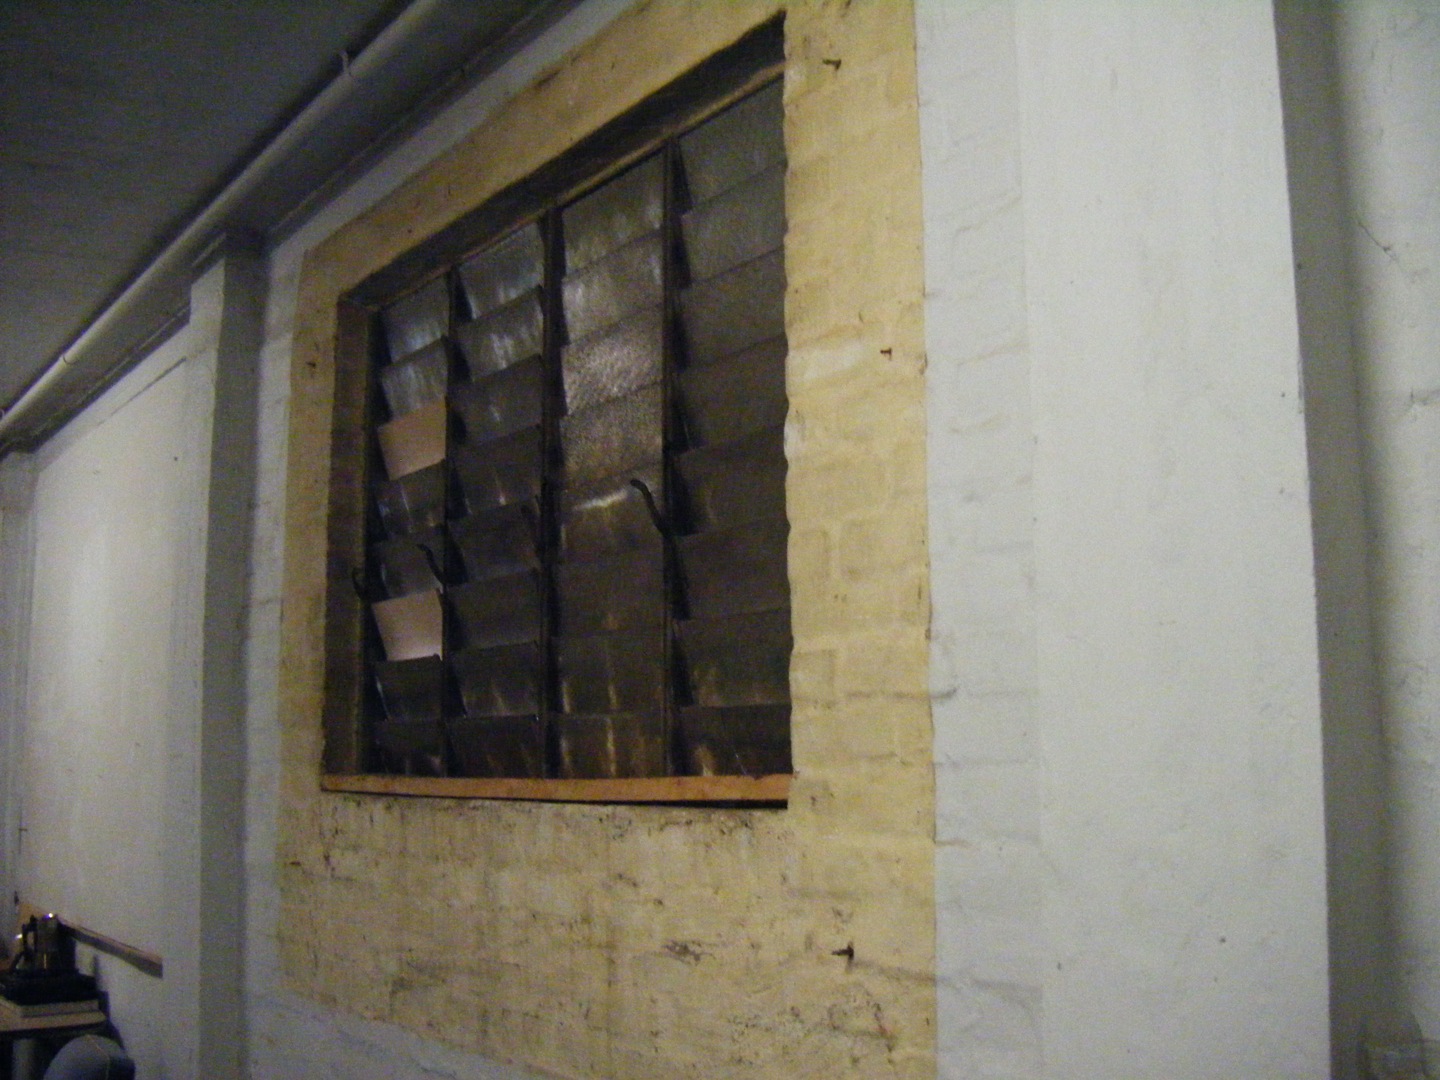
Here the copper pieces which have been blackened are in place.


Now to start mossing the pieces. Using a technique I learnt from the fabulous Tom Moore who uses this in his own works. Different types of fake grass from the model shop layered and stuck on are used to resemble a mossy look.


Installed onto the wall.....


June 27, 2012

Concrete


 Have been trying a few experiments in concrete with my large installation pieces. Here are some moulds I made. FIrst I made the pieces from clay and made a cast in plaster. Then filled with concrete. I have added foam inside the pieces so as not to be so heavy and hopefully a bit stronger structurally. I have also put some nails in so that they can be attached to a wall though I think that may have to be thought through a bit more.

So here are the moulds, I made three different sizes and waited about a week till the concrete was completely dry.


Chipping away at the moulds. After a bit and a whole lotta mess I got the cast pieces out. 


As you can see here, they are not perfect and I will have to do some more experimentation. But overall I think the exercise was a success. Next time I will make a two part mould and a few other things different that will make them work better.


Growing in the wild.....
  

Not so wild.....


This is where I would ideally like to install these pieces. On a beautiful concrete wall. So its like the fungus has grown out from the concrete and taken on the elements of the wall.